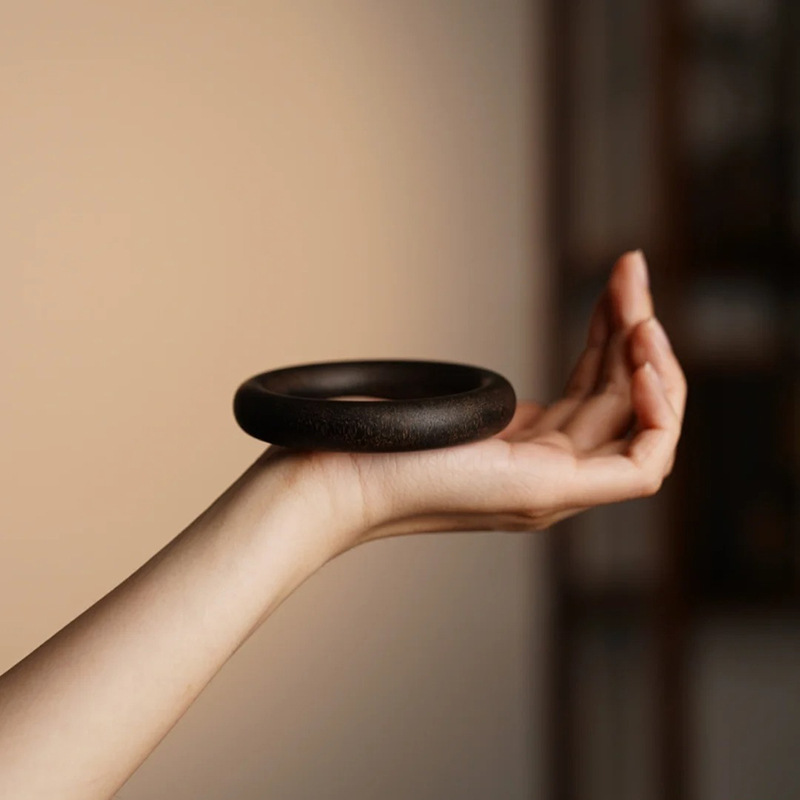
1. Why Wooden Bracelets Are 2023’s Hottest Craft Trend
According to Etsy’s 2023 Craft Report, wooden jewelry sales surged 63% YoY, with personalized bracelets dominating 58% of purchases among millennials. Three factors fuel this renaissance:
- Nature Therapy: 71% of buyers prioritize “earth-friendly materials” post-pandemic (Global Wellness Institute)
- Customization Economy: Laser-engraved bracelets command 45% price premiums on Shopify stores
- Sustainable Fashion: 83% of Gen Z would pay extra for upcycled wood accessories
Case Study: Yohji Yamamoto’s “Tree Ring Collection” made from Tokyo temple demolition wood sold out within 7 hours at $349/piece.
2. Essential Tools Checklist: Budget vs Pro Setup
Starter Kit (<$70)
| Tool | Recommended Model | Key Purpose |
|---|---|---|
| Coping Saw | Olson SAW32 | Rough cutting |
| Rasp | Kunz 10″ Half-Round | Shaping curves |
| Sandpaper | 3M 240-2000 Grit | Polishing surfaces |
| Wood Glue | Gorilla Wood Glue | Crack repair |
| Wax Finish | Howard Feed-N-Wax | Protective coating |
Advanced Tools
- Power Carver: Dremel 4300 with 15+ attachments
- Dust Control: Festool CT 15 Extractor
- Laser Engraver: xTool D1 Pro (5W diode)
Pro Tip: Avoid “50-piece wood carving sets” – focus on quality rasps and Japanese pull saws.
3. 7-Step Production Process (With Safety Protocols)
Step 1: Wood Preparation
- Stabilize moisture at 8-12% using a Wagner Moisture Meter
- Always cut parallel to grain direction
Step 2: Template Transfer
- Use graphite paper for dark woods / chalk paper for light woods
- Secure with Blue Painters Tape
Step 3: Cutting Contours
- Maintain 15° blade angle with coping saw
- Safety: Wear Cutmaster Cut-Resistant Sleeves
Step 4: Inner Circle Drilling
- Step-drill technique:
- Pilot hole with 3/16″ bit
- Expand using adjustable circle cutter
Step 5: Shaping
- Coarse-to-fine workflow:
Surform Shaper → Nicholson #49 Rasp → Sanding Sponge
Step 6: Polishing
- Wet sanding method:
400 grit (dry) → 600 grit (with linseed oil) → 1500 grit (water)
Step 7: Finishing
- Beeswax application:
- Heat wood with hair dryer
- Rub pure beeswax bars clockwise
4. 5 Creative Design Techniques for Unique Bracelets
Technique #1 Pyrography Patterns
- Tool: Colwood Detailer Pen
- Pro Tip: Sketch designs with vanishing ink markers first
Technique #2 Turquoise Inlay
- Mix: Crushed turquoise + CA glue
- Cure: Accelerator spray for instant hardening
Technique #3 Ombré Dye
- Products:
- Base: General Finishes Water Stain
- Blender: Minwax Pre-Stain Conditioner
- Gradient method: Dip-dye at 45° angle
Technique #4 Leather-Wood Fusion
- Hardware:
- Buckle: Tandy Leather Solid Brass
- Cord: 2mm Veg-Tan Lace
Technique #5 Glow-in-Dark Accents
- Mix: Art ‘N Glow powder + clear epoxy
- Application: Fill CNC-carved channels
5. Maintenance: 3 Rules to Preserve Your Bracelet
Rule 1: Water Defense
- Emergency fix: Blot with microfiber cloth → bury in silica gel beads
Rule 2: Oil Replenishment
- Monthly: Apply Dr. Jackson’s Hide Rejuvenator
- Avoid: Citrus oils degrade lignin
Rule 3: Smart Storage
- Anti-tarnish bags: Pacific Threads Silvercloth
- Humidity control: Boveda 49% RH packs
6. Expert Q&A: Top Wood Bracelet Queries
Q1: Best wood species for starters?
→ Featured Snippet Answer: Maple (1450 Janka), Cherry (950 Janka), Basswood (410 Janka). Avoid exotic woods like Lignum Vitae (4500 Janka).
Q2: How to size bracelets accurately?
- Printable sizer: Download Woodworkers Guild template
- Formula: Wrist circumference ÷ 3.14 + 0.4″ = Inner diameter
Q3: Why does sanding leave scratches?
- Fix:
- Use sanding blocks not fingers
- Progress through grits sequentially
- Finish with 0000 steel wool


Leave a Reply